I ended up using some of my favorite papers and snowman sticker but I'm OK with it because I know these will get some use. I left mine fairly simple because I'm planning on them being a purse planner.
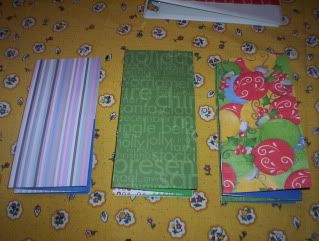
Here's all three planners:
I embellished the front of one:
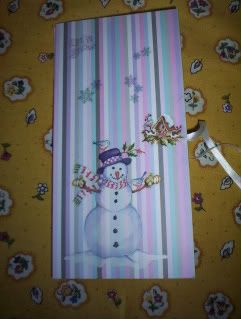
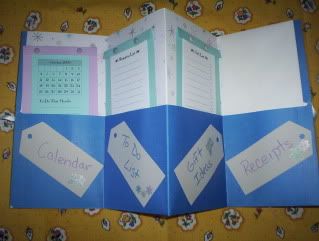
The inside of the stripped cover:
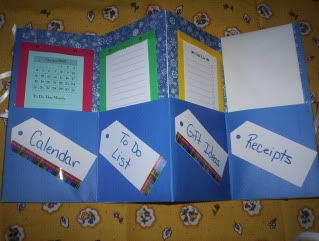
The inside of the ornament cover:
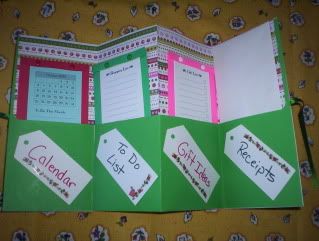
The inside of the green cover:
If this has inspired you to create your own planner, please leave us a comment and a link to your blog.
I'm off to decide which planner I want to keep. I had an idea but I love them all!
Included below are the instructions and where I found the calendar & page inserts.
Instructions:
1) Use a two pocket folder without the three ring holder. Mine had the three ring holder but it was stapled in so I gently took it out.
2) Optional: I chose to make my folder shorter so I took off about 2 in at the top. I went just above the top staple - my folder has 3 staples.
3) Fold the folder open so that the outside's are touching and the pockets are out.
4) Find the mid point of one pocket side and gently score from the top of the folder to the bottom. Do the same thing on the other side.
5) On one pocket side, fold so that the outside edge meets the middle of the folder. Repeat for the second pocket.
6) Attach a ribbon or string to the original outside edges of the folder. This will be used to tie the folder closed.
7) Cover the folder, outside and in with your favorite papers. I used a glue stick, others have used glue, mod podge or other adhesives.
I chose to line the inside of the folder with one sheet of paper and not do the pockets. A lot of people line the inside of each pocket and the pockets with different coordinating papers.
I found the calendar and other sheets at Organized Christmas. I trimmed 1/2 in off each side and the bottom. Leaving the 1/2 in at the top so that I could fold over my colored paper. I trimmed the white sheets to three inches across. I made the colored backing 4 x 9 inches and folded over a 1/2 so the total height is 8.5 in. I used brads to hold everything together. I recommend flat brads or staples - I didn't use those and it's a little bulky at the top.
2 comments:
Great, great idea! Thanks for sharing!
Okay, so you really did inspire me. Here's a post where I show my planner (along with a couple of other crafts):
http://amusingmomspeaks.blogspot.com/2009/11/its-crafty-time-of-year.html
Thanks for sharing the great instructions for such a fun and easy craft.
Post a Comment