Using a square sheet of paper, I choose 10x10.
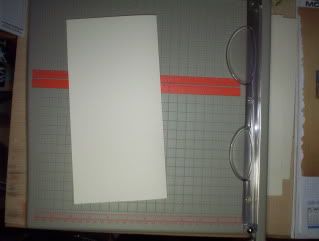
1. Fold the paper in half...
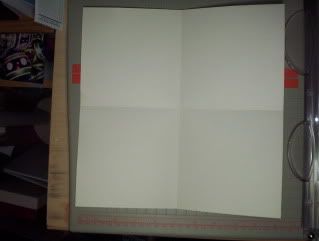
2. Unfold the paper and fold in half again - so there are 4 squares. Like this...
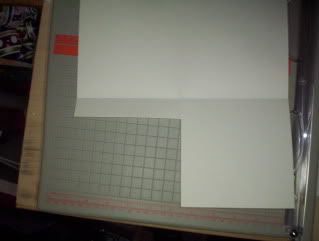
3. Next we need to cut out a square, leaving a 1 inch flap. I cut on one fold line to the middle and then cut an inch from the corresponding fold line. So we end up with this...
4. Next fold the square opposite the crease on the diagonal. It will look something like this....

5. Crease all folds in both directions to make the book easier to open and close.
6. Repeat 1-5 for the other 3 pages.
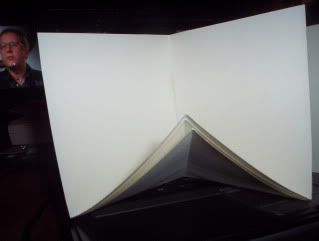
7. Now comes the tricky part. With one sheet of paper have the diagonal on the table top and fold the sides up to create a three sided box. Take the flap and put it on the back of the other square to create a free standing box. Like this...
8. Repeat for the other three pages.
9. Fold up the page, pushing the diagonal up to create a square.
10. Place glue on the top of the folded up square and put the next folded up square on top. ***Make sure the diagonals are all pointed in the same direction.*** When all 4 squares are glued together the two outside squares are the covers. This is how the album will look fold up.
11. Open up the squares with the diagonal squares on the table top. It will look something like this....
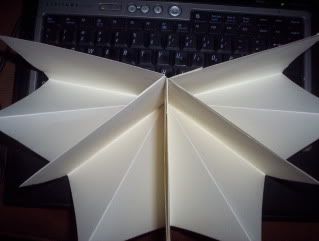
12. This is how the album will look with the covers together - a ribbon tie or velcro could be used to keep the album open.

Good luck and let us know what you end up creating!